How to Decide If Moldy Caulk Should Be Cleaned or Replaced
When Caulk Goes Bad
Bathroom caulk is the thin seal that runs along the edges of your tub, shower base, and sink. It is meant to stay clean and flexible, but over time it can turn dark with mold. The question many homeowners face is whether they can scrub that mold away or if the caulk itself needs to come out. The answer depends on how deep the problem goes and what condition the caulk is in.
Caulk is porous. Once mold takes hold inside its surface, cleaning may only remove the top layer of discoloration. The mold spores can remain embedded, ready to grow back quickly. On the other hand, if the caulk is still intact and the mold is only on the surface, a thorough cleaning might be enough. Knowing the difference saves time and effort.
Check the Caulk's Condition
Start by looking at the caulk closely. Run a finger along the seam. Does it feel firm and smooth, or is it crumbly and sticky? Caulk that has begun to peel away from the tile or tub has already failed. The same goes for caulk that is cracking, shrinking, or pulling away at the edges. Any of these signs mean the seal is no longer watertight, and cleaning will not fix that. The old caulk needs to be removed and replaced.
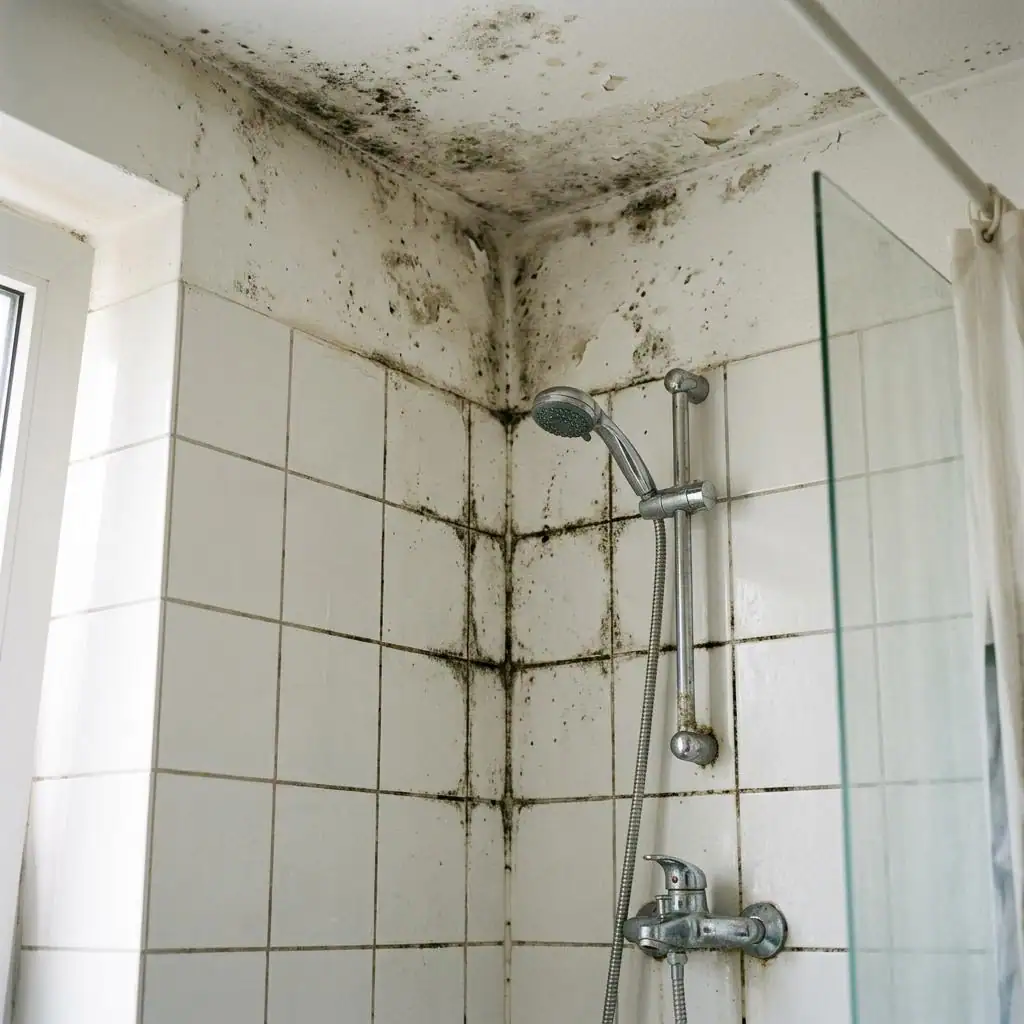
If the caulk still feels solid and is fully adhered on both sides, then the seal might still be good. In that case, the mold may only be on the surface. But even then, you need to look at the color. Surface mold often appears as black or greenish spots. If the entire line of caulk has turned a uniform dark color, the mold has likely penetrated deeper. That is a sign the caulk is compromised, even if it still feels firm.
Test the Mold First
Before deciding, try a simple spot cleaning. Use a bathroom cleaner that is labeled for mold and mildew, or a mixture of vinegar and water. Apply it to a small section of the affected caulk and scrub gently with a soft brush. If the dark spots lift away easily and the caulk underneath looks clean and white, then cleaning may work. If the spots remain or only fade slightly, the mold is inside the caulk itself.
Another test: spray the area with a diluted bleach solution and let it sit for ten minutes. If the dark color disappears entirely, the mold was surface level. If the caulk stays dark, the mold has colonized the material. At that point, cleaning is just cosmetic and the mold will return. Replacement is the better option.
When Cleaning Is Enough
If your tests show the caulk is still sound and the mold is only on the surface, you can proceed with a proper cleaning. Use a product made for bathroom mold removal, or a paste of baking soda and water. Scrub with a toothbrush or a small nylon brush, working along the seam. Rinse thoroughly and dry the area. To keep mold from coming back, you need to reduce moisture in the bathroom. Run the exhaust fan during and after showers, wipe down wet surfaces, and fix any leaks that keep the caulk damp.
Even with good cleaning, surface mold can reappear if the bathroom stays humid. A routine of weekly drying and occasional spot cleaning helps. But if you find yourself scrubbing the same spots over and over, that is a sign the caulk is no longer resisting mold well. At that point, replacement is worth considering.
When Replacement Is Necessary
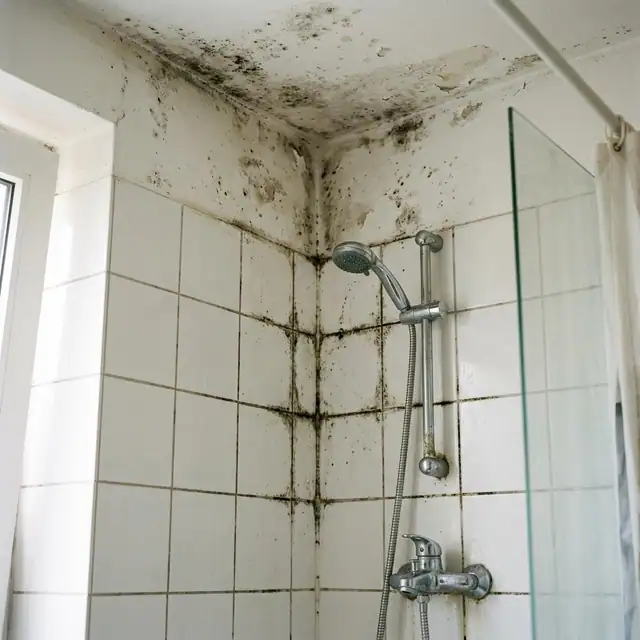
Replace the caulk if it is peeling, cracked, or pulling away. Also replace it if the mold has penetrated deeply, if the caulk has turned a uniform dark color, or if the area around the caulk shows signs of water damage. Old caulk that is more than a few years old may have lost its mildew-resistant properties. In those cases, removing it and applying fresh caulk is the only way to get a clean, sealed joint.
Removing old caulk is straightforward but requires care. Use a caulk removal tool or a utility knife to cut along the edges. Pull the old caulk out in strips. Clean the gap thoroughly with rubbing alcohol or a mild cleaner to remove any residue and kill remaining mold spores. Let the area dry completely before applying new caulk. Choose a bathroom-grade silicone caulk that includes a mildew-resistant additive. These products are designed to hold up better in wet environments.
Applying new caulk takes a steady hand. Cut the nozzle at a 45-degree angle and run a continuous bead along the seam. Smooth it with a wet finger or a caulk smoothing tool. Let it cure for the time stated on the label, usually 24 hours, before exposing it to water. Fresh caulk gives you a clean start, but it still needs the same moisture control to stay mold-free.
What About Hidden Problems
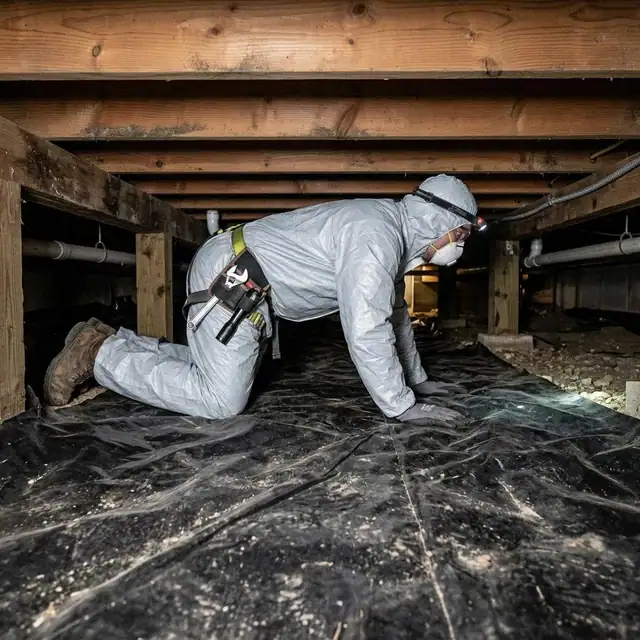
Mold on caulk is often a symptom of a larger moisture issue. If the caulk around your tub or shower is repeatedly growing mold, there may be water getting behind the tile or the shower pan. This can happen when the caulk has failed and water seeps into the wall cavity. The mold you see on the caulk might be only a small part of the problem. If you notice a musty smell, soft or discolored drywall, or any signs of water damage near the bathroom fixtures, then the issue goes beyond the caulk itself.
In those cases, cleaning or replacing the caulk alone will not solve the mold problem. The hidden moisture needs to be addressed first. That might involve removing damaged materials, drying out the area, and fixing the leak or ventilation issue that caused the moisture buildup. Mold Removal Boston Pros handle exactly these kinds of situations, where mold has spread behind the visible surfaces. They assess the whole bathroom environment, not just the caulk line.
Prevention After the Fix
Whether you clean or replace the caulk, keeping it mold-free afterward depends on the same few habits. Keep the bathroom well-ventilated. Run the fan for at least 20 minutes after each shower. If your bathroom has no fan, crack a window or use a portable dehumidifier. Wipe down the shower walls and the caulk line with a squeegee or a towel after each use. This removes the water that mold needs to grow.
Check the caulk regularly for early signs of mold. Catching a few spots early makes cleaning much easier. If you see the caulk starting to lift or crack, plan to replace it before water gets behind it. A little maintenance now saves you from a bigger mold remediation project later.
If you are unsure whether your caulk is still doing its job, or if you have recurring mold despite your best cleaning efforts, it may be time to call in a professional. Mold Removal Boston Pros have the experience to evaluate the condition of your bathroom sealants and the moisture issues behind them. They can advise on whether a simple caulk replacement is enough or if the underlying moisture problem needs more extensive work. Knowing when to clean and when to replace is a practical skill, but knowing when to ask for help is just as important.